Linoprinting – an introduction
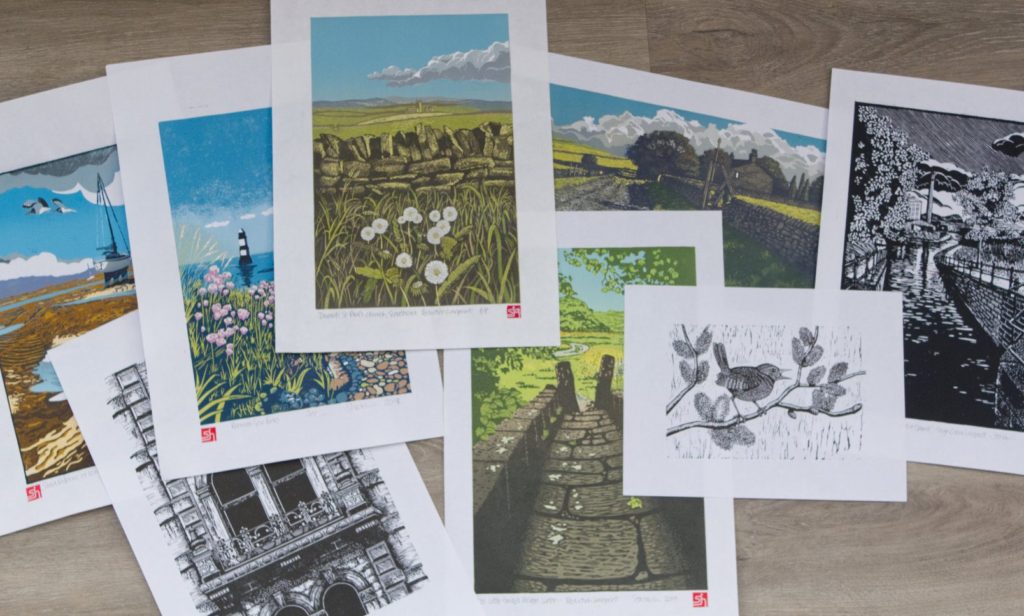
It’s a question I’m asked a occasionally…what is linoprinting, where did you learn it and why do you find it so fascinating? Here I’ll try to explain what first attracted me and why I find it therapeutic…
September 9, 2021
Printmaking
Although I spent my working life in the printing industry from apprenticeship through to retirement and also dabbled in art at various points throughout my life, I had never had an interest in Printmaking, in fact I didn’t even know what it involved. I know many people get an introduction to linoprinting at school, perhaps some even dabble in screen printing, but these activities had completely evaded me until about 6 years ago. Printing of course is a different beast from printmaking so perhaps it wasn’t a big surprise.
Something to occupy my spare time
As I was approaching retirement, I decided I needed something to keep me occupied, other than walking, gardening, cooking and reading etc. I love art in any form and enjoy drawing and painting, but couldn’t see how to make it work for me. I started to look around for handicraft courses, anything that involved making by hand particularly interests me, and after a little research found an introduction to Linoprinting, which is one area of Printmaking, and an area where I could perhaps use my interest in art. It was run by James Green in Sheffield so I decided to enrol on a 1 day course and went along with my sister-in-law Sam aka Raspberryspudwhistle. We both had such a great day, mixing with other people who shared that same interest. As soon as I saw the potential it was a lightbulb moment and I was completely hooked.
The whole process of linoprinting was so far removed from my regular job on a computer…it was a real tonic to find something that involved creating with my hands and didn’t involve a computer, which I had been using every day in my full-time employment. Even the ink transfer to paper was done with a wooden spoon!
As soon as I got home, I started delving into linoprinting and different linoprinting artists to get some inspiration. Having found some fabulous practitioners out there, such as Angie Lewin, Robert Gilmour, Ian Philips, Angela Harding, I decided to explore further and discovered many different methods of linoprinting not only mono prints, but fascinating multi-colour too. I have since found many fabulous printmakers through Instagram and am amazed at the great artwork produced by them.
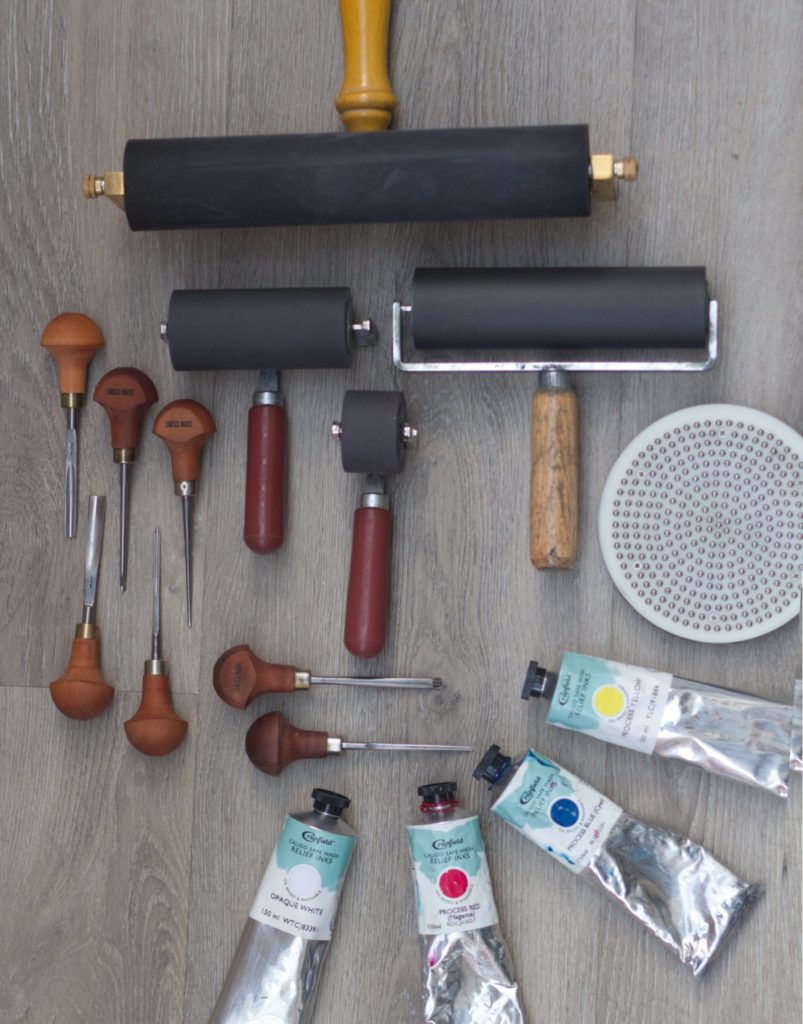
Having looked into the practicalities of various methods of printmaking, including screenprinting and etching, I decided that linoprinting was a little more practical to make at home. The tools are relatively inexpensive, the method is easy to understand and it’s relatively clean, not needing the use of any corrosive acids. Best of all, it’s something you can do on your kitchen table. The basics of linoprinting are simplicity itself, just carve an image into a piece of Lino (yes, during the early years, people actually used floor Lino), ink it up and transfer the image onto a piece of paper.
Starting simple I produced some single colour pieces to get into the swing. I made a few mono prints, which I loved doing and still do, but my interest was peaked when I started looking at other artists colour prints. This introduced me to reduction linoprinting and multi-plate printing which introduce the ability to use multi-colours. This is where it began to get even more interesting. Reduction linoprinting is rumoured to have been invented by Pablo Picasso…a method that uses just one block of Lino to produce a multi-coloured final piece of artwork.
One thing I’d like to mention here before I share my process…It is not necessary to be able to draw. I do draw mine, but that’s because I love drawing too. You only have to be able to transfer an image to the Lino, how you do that is up to you and can involve photocopying.
Linoprinting – my process.
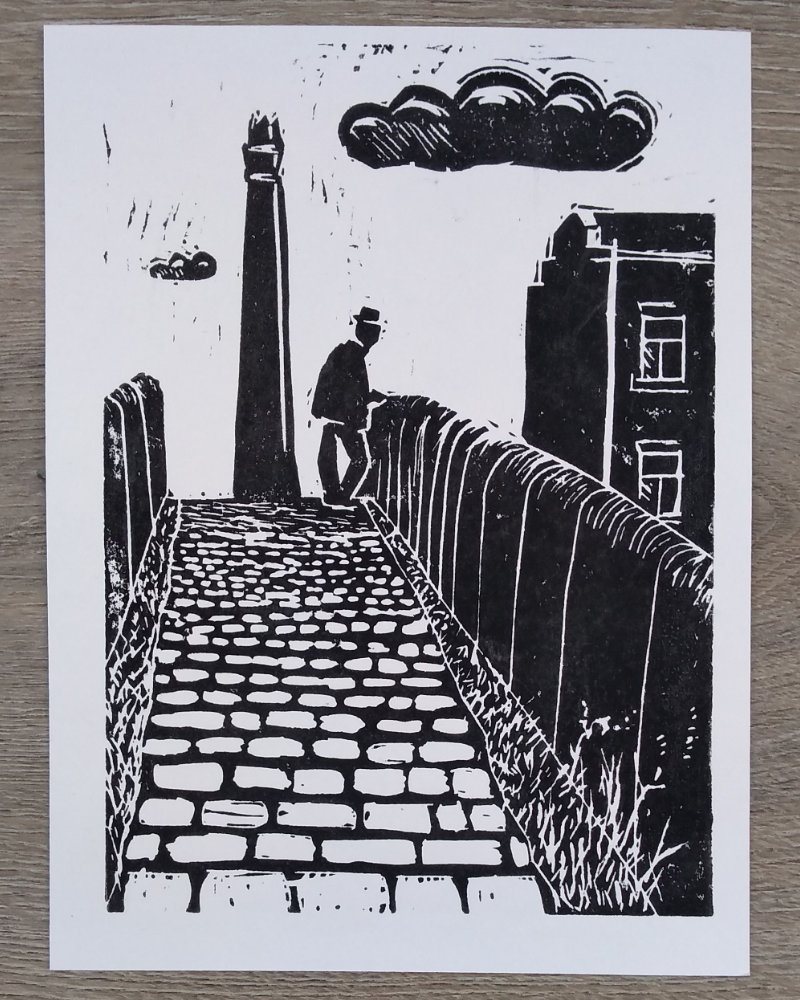
My first ever linoprint
This is my first attempt at a Linoprint, made on an introduction to linoprinting by James Green in Sheffield. A simple mono canal scene along the Ashton Canal. Starting simple is important if you are to retain your interest and not overwhelm yourself.
As you develop your technique and confidence try making a colour print.
Below I’ll try to explain the process. For colour prints, you need to consider registration, which was a big stumbling block for me to start with. I made a small register jig from a disused bread board, which served me quite well for a few attempts, but was a little unreliable. I now use Ternes Burton registration pins, which are a great way to achieve reliable registration.
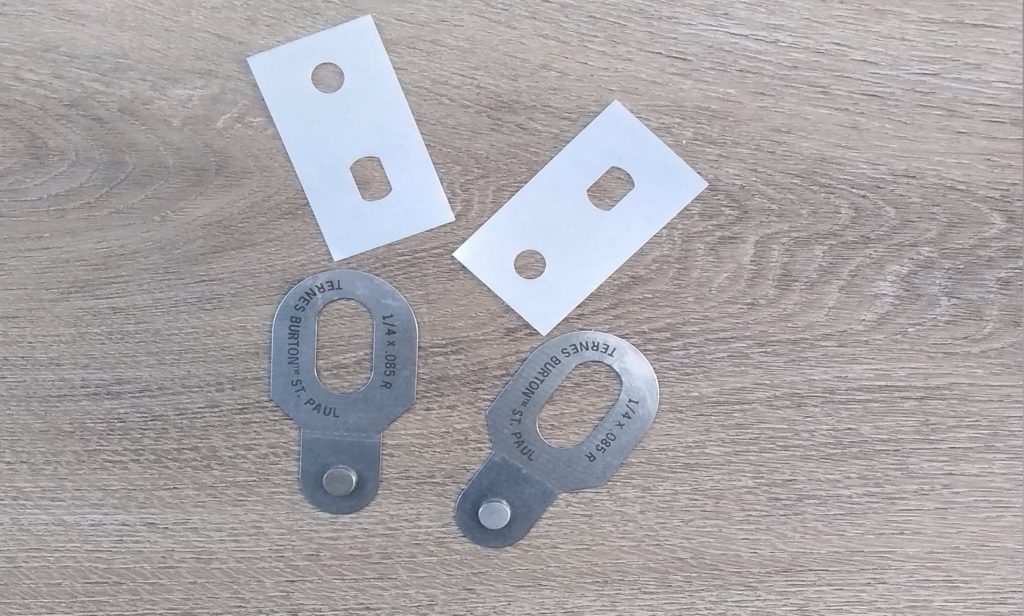
Colour registration made much easier with these beauties
Registration is critical on colour prints and is made much easier with the Ternes Burton Pins and tab system.
The metal pins are fixed to a flat board (in the case of hand printing) and the plastic tabs affixed to each sheet of paper, this makes registration (almost) foolproof.
Preparation for single colour and multi-colour printing
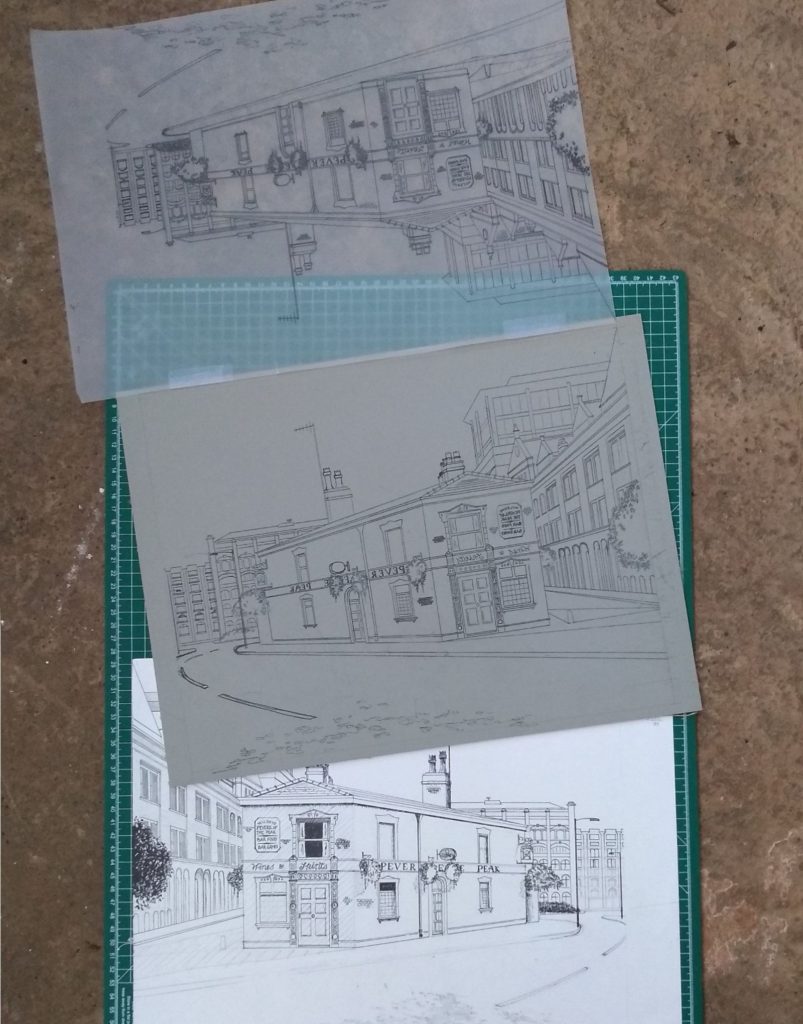
Once you have decided on a subject you’d like to print, either draw a visual or you can photocopy and trace from this. In this image I have initially drawn the subject onto paper, then traced over with tracing paper, so that I can flip the image, put a piece of carbon paper under and trace the drawing (the wrong-way-round) onto the Lino.
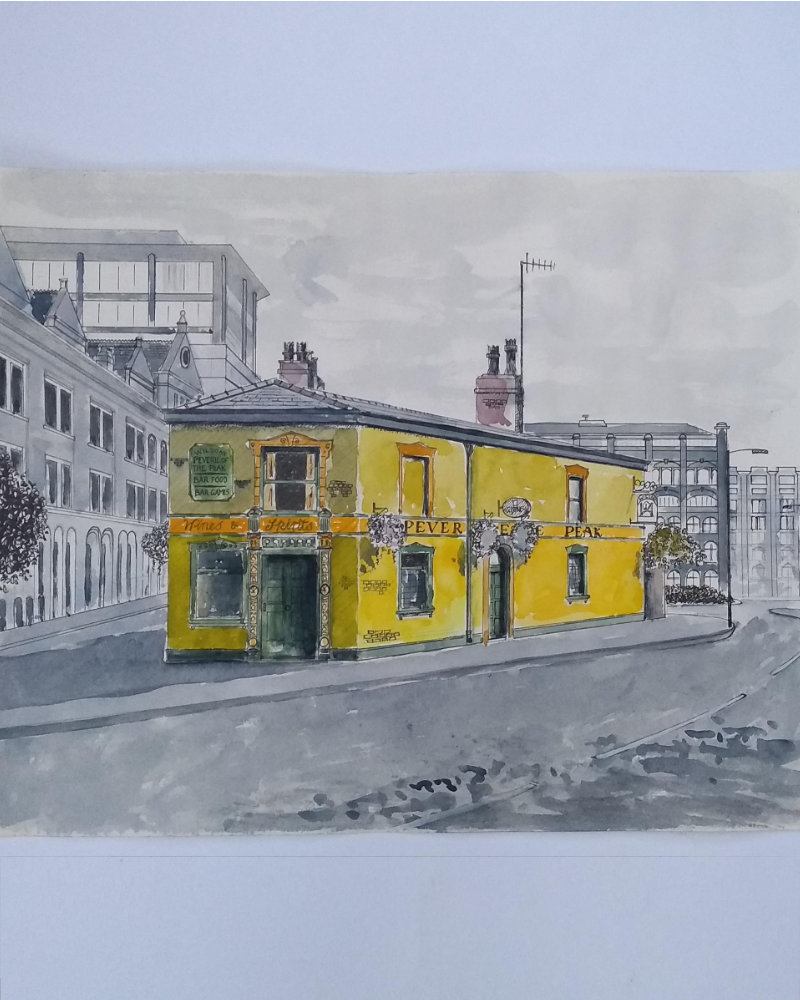
I find it beneficial to also produce a visual to see if my idea is going to work for me. I use this process for both colour and mono prints.
Multi-Colour Linoprinting: Reduction prints
STEP ONE
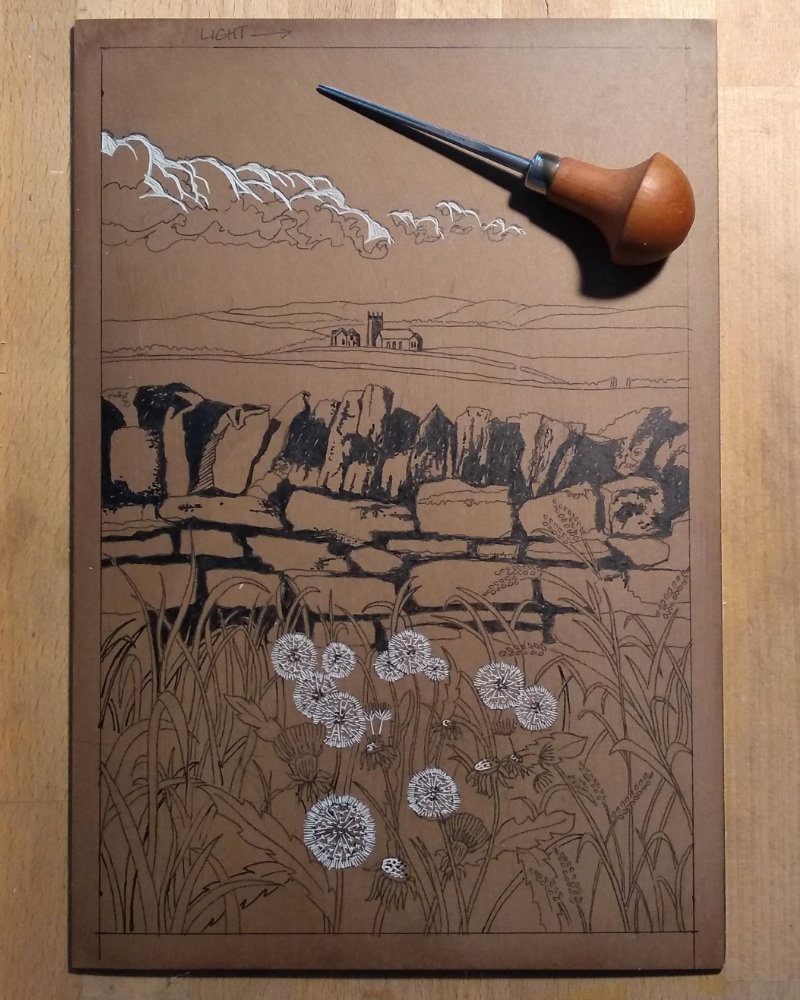
Carving the for the first colour. Here I’m carving the white areas (clouds and highlights). After this I will ink up the block and transfer to paper. Where I have carved will remain white.
STEP TWO
Application of the first colour, a gradient for the sky and background highlights. As you can see, the areas I previously carved remain white. The blue/grey gradient only transfers to the paper.

STEP THREE
After carving away selected areas, i.e. the sky and the grey highlights, the second colour is applied (a bright yellow for distant fields and wall highlights and a little grey for the clouds).

STEP FOUR
Carve away to leave all those yellow highlights and apply the third colour (green for the fields and darker grey for clouds).

STEP FIVE
Application of the fourth colour, a brown/stone colour for the dry-stone wall highlights.

STEP SIX
A little careful selective inking and rubbing out with a cloth, applying a purple for the distant hills and a little yellow in foreground.

STEP SEVEN
Application of another light green for the grasses for the background and highlighted grass in the foreground.

STEP EIGHT
Application of a light brown/grey (thinned with extender for transparency, allowing the colours beneath to show through).

STEP NINE
Final application, a black with extender to allow a little show through. Notice how the darker colours add the depth to the picture.

Hopefully this has highlighted the process and is of interest to anyone wanting to try this method of printmaking. If there are any questions anyone would like to ask, please feel free and send an email to me at the following:

